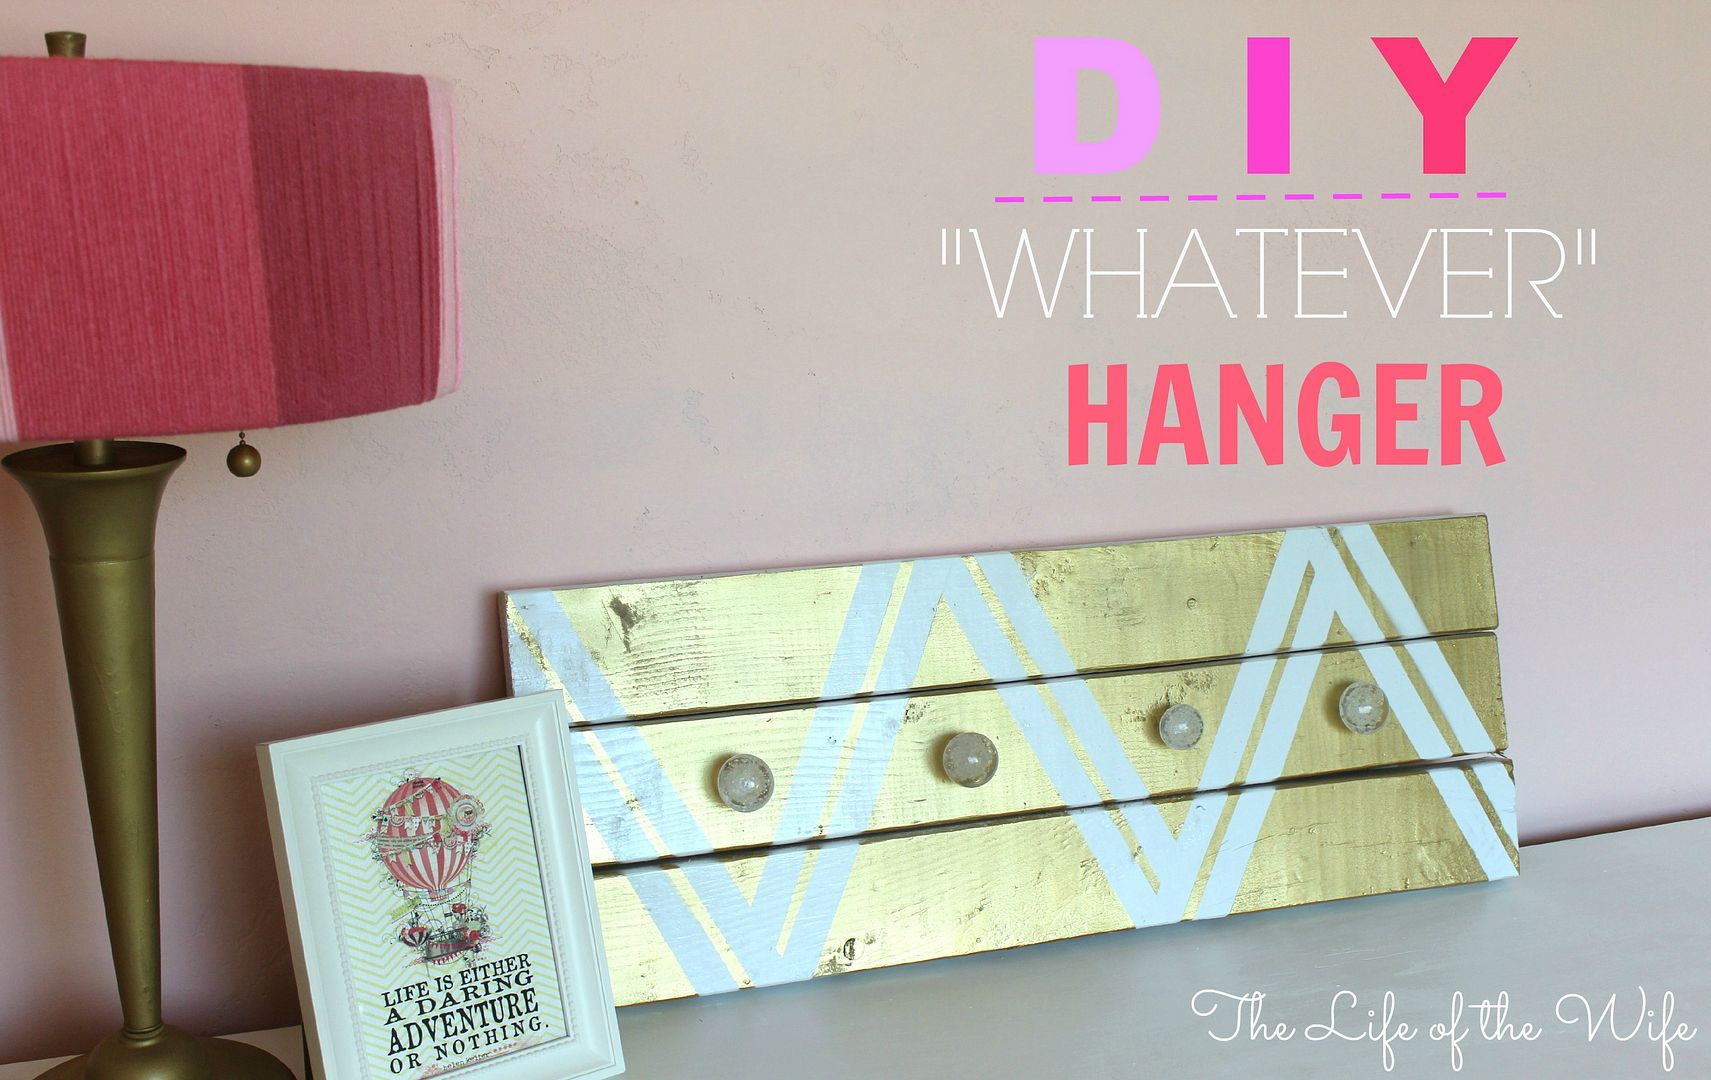
This weekend was full of little DIY projects for baby girl's room. What is it about checking things off your list that makes you feel just so gosh dang accomplished? I just love that feeling!
I've had this one idea floating around in my head ever since we found out we were having a girl. My hubby said he could make it happen (he's awesome that way), so we got to work!!
I am calling this the "WHATEVER" Hanger because, really you can hang WHATEVER you want on it. Not just cute girly bows like I am...but that works too! ;)
We happened to have a long plank of scrap wood laying around. My hubby got out his saw & cut the wood into 3 separate pieces (about 2 feet each). You can use whatever size you want/whatever type of wood you want.
Using the Brace Plates, he fastened the 3 pieces of wood together. It's not the easiest thing to do, so you might need a helper if you're attempting this yourself. But that is about the hardest part of the whole thing.
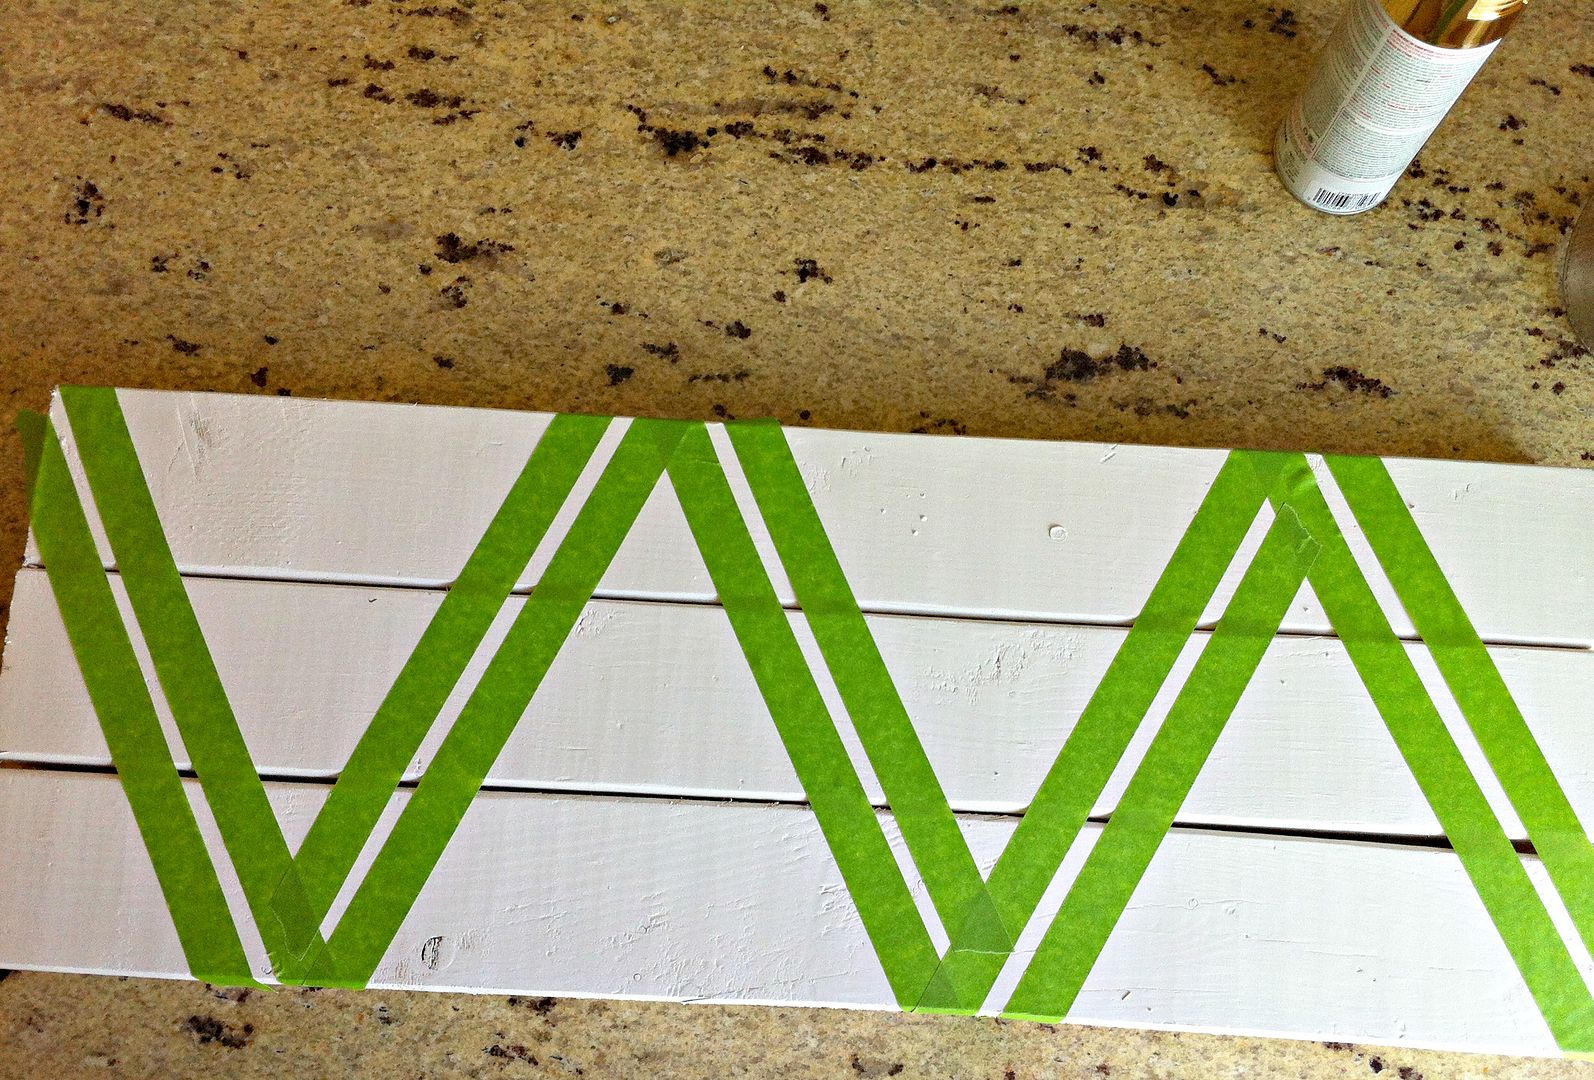 Next, I spray painted the whole thing white (I used Krylon Flat White Spray Paint). Let it dry, then started taping out my pattern. Once the tape was on, I spray painted the whole thing with Gold Spray Paint (I used Rust-Oleum Metallic Gold). Let it dry, then - my favorite part - ripped off the tape. And voila! A design emerged!
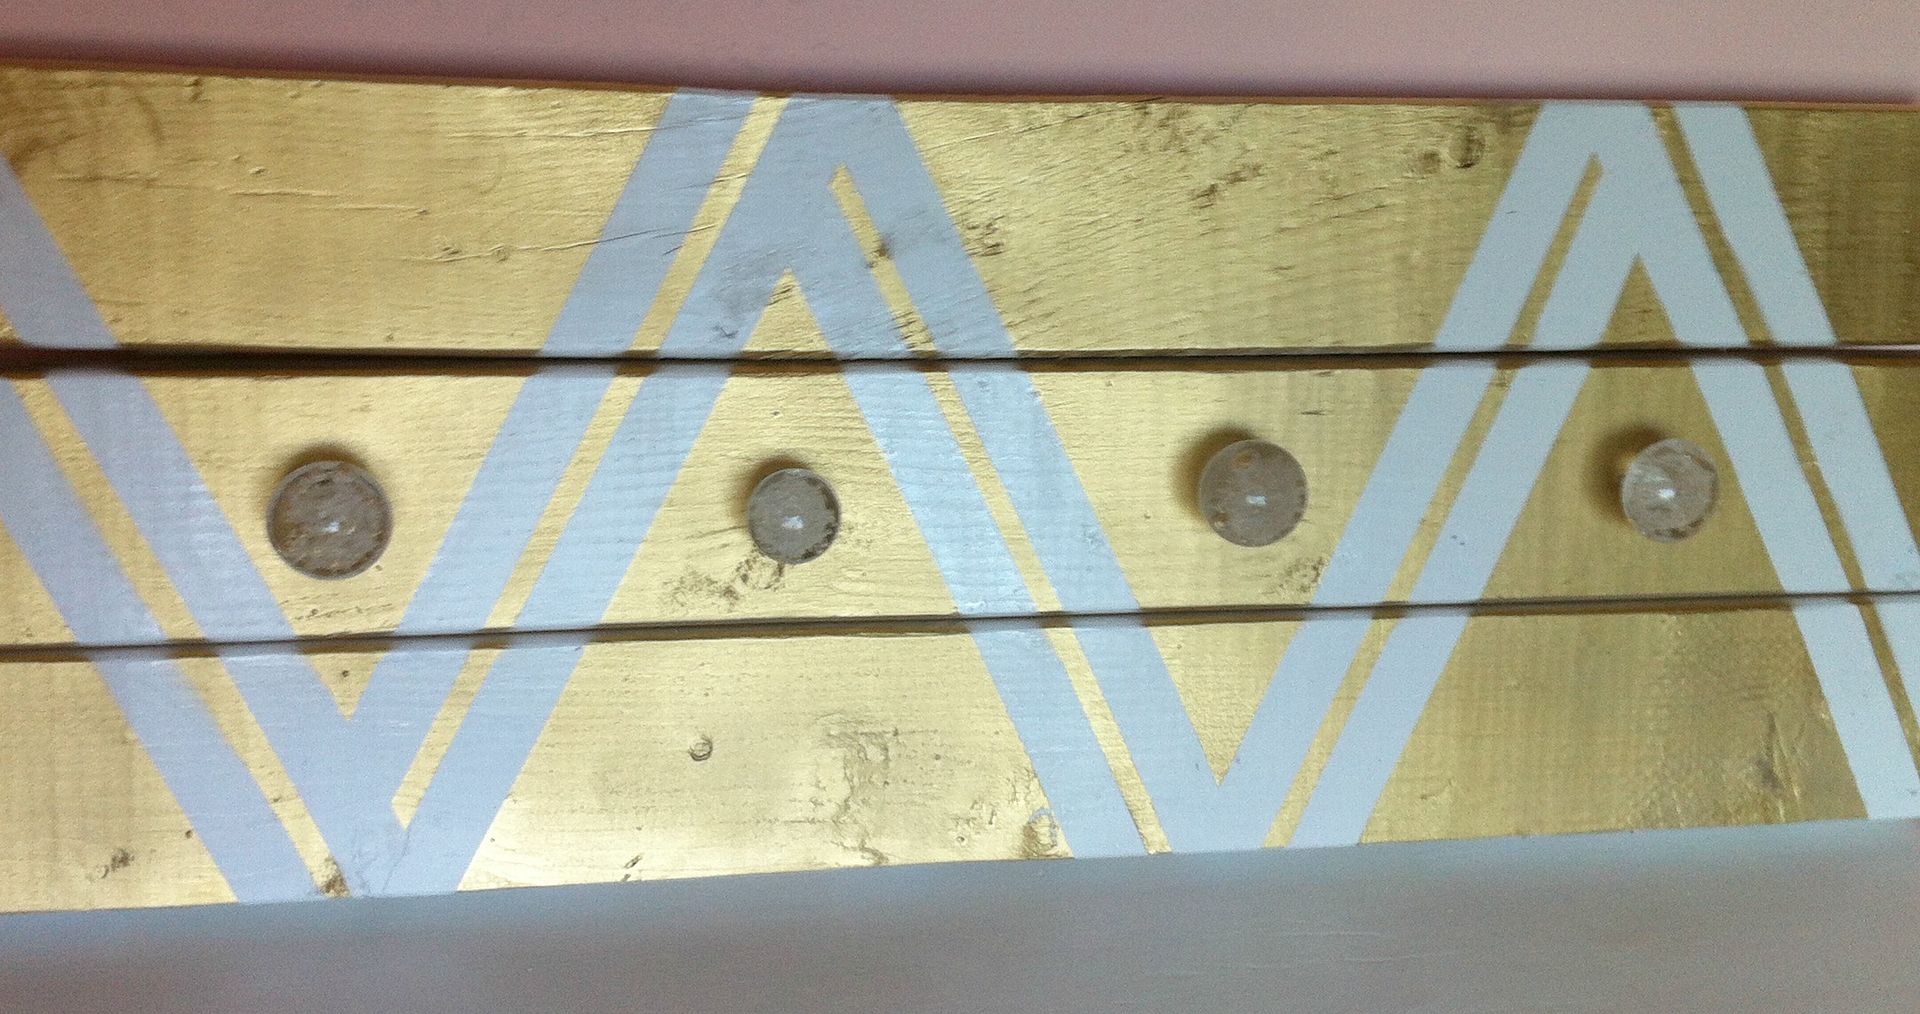 Then, we screwed the decorative knobs into the wood. I bought mine from World Market - for like $4 a piece. You'll need a small drill for this. You will also want to MAKE SURE that the hole you drill is slightly smaller than the knob screw is. Then, you just start twisting the knobs in. If you want to make extra sure they stay in, you can always pour a little wood glue in the hole before you put in the knob. Pretty easy.
Lastly, we drilled in 2 metal hangers to the back of the hanger, and 2 to the wall. You will want some heavy duty ones - the ones we used will hold up to 35 lbs each.
....AND VOILA! YOUR DIY HANGER is done!! Pat yourself on the back! You did it! Feel free to hang WHATEVER you want on it!!
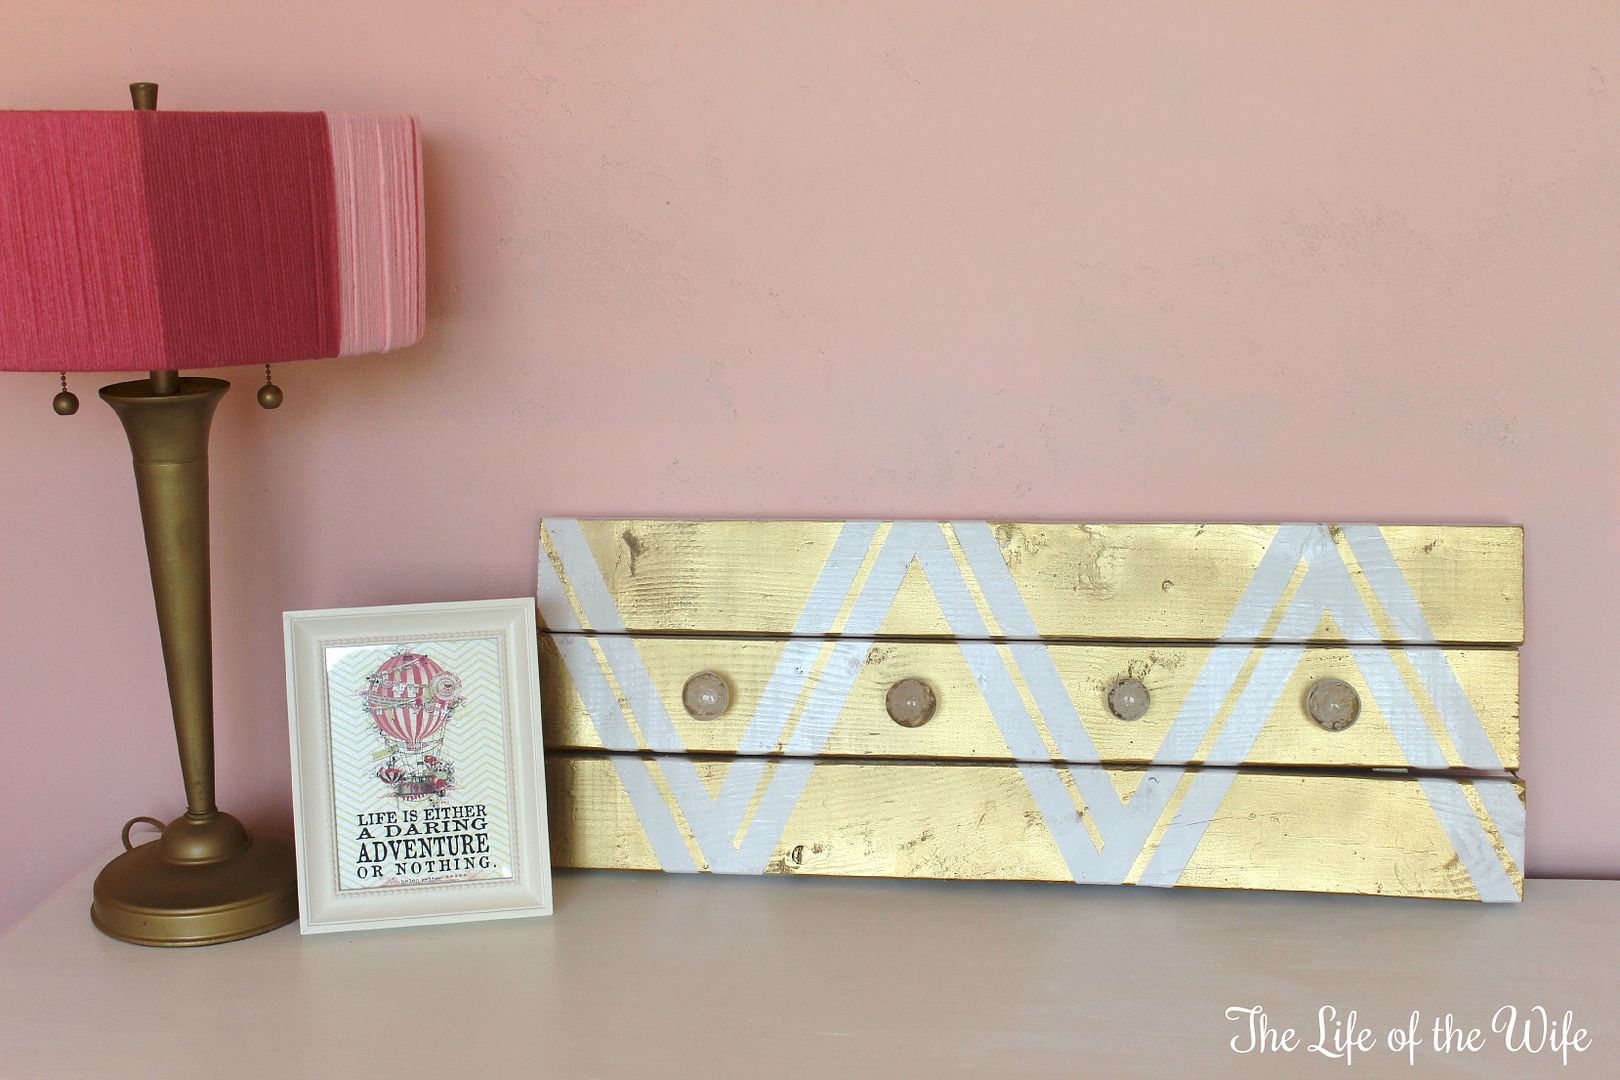
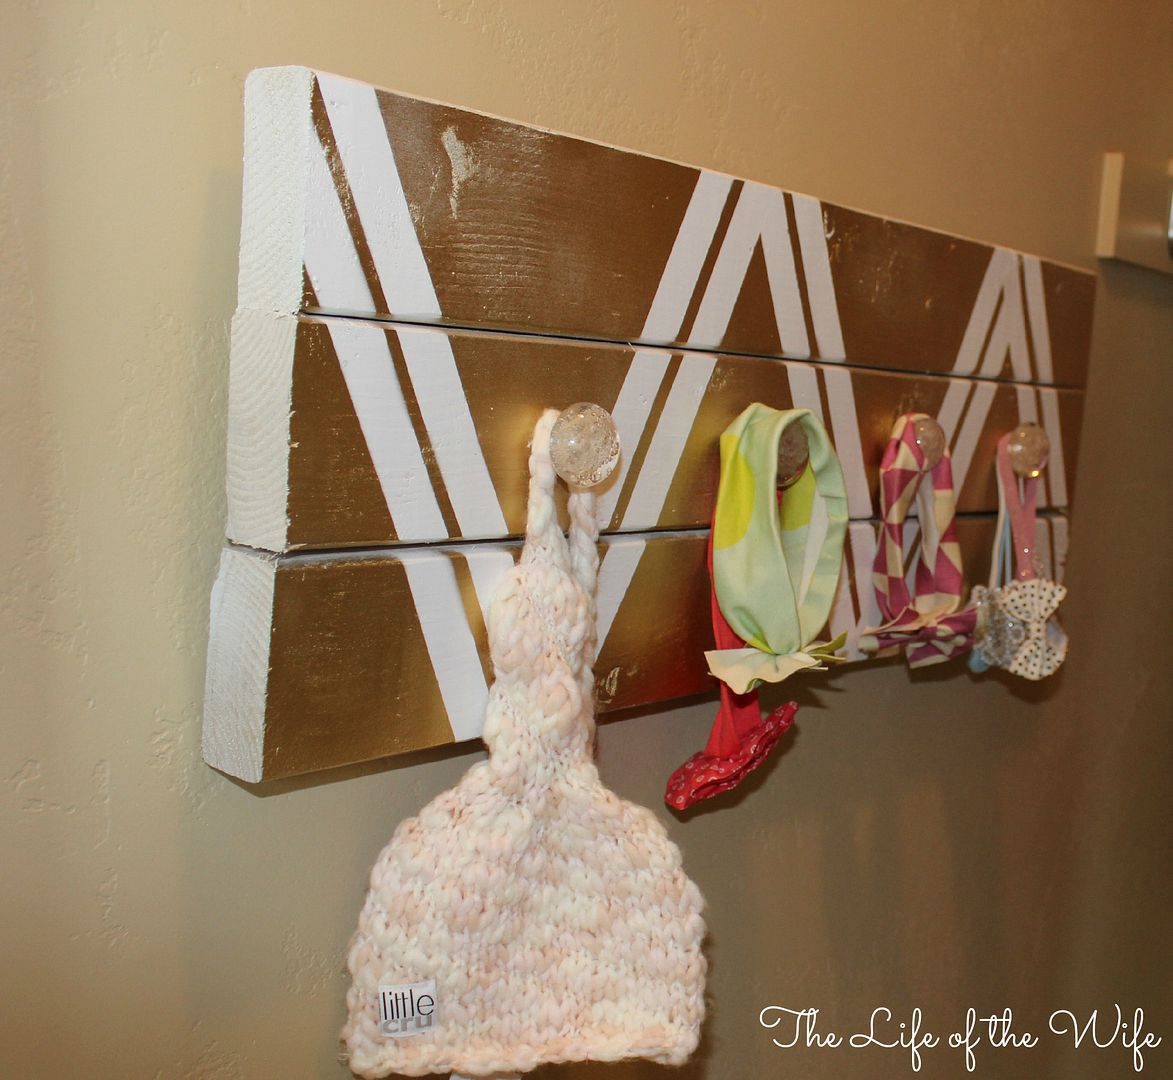
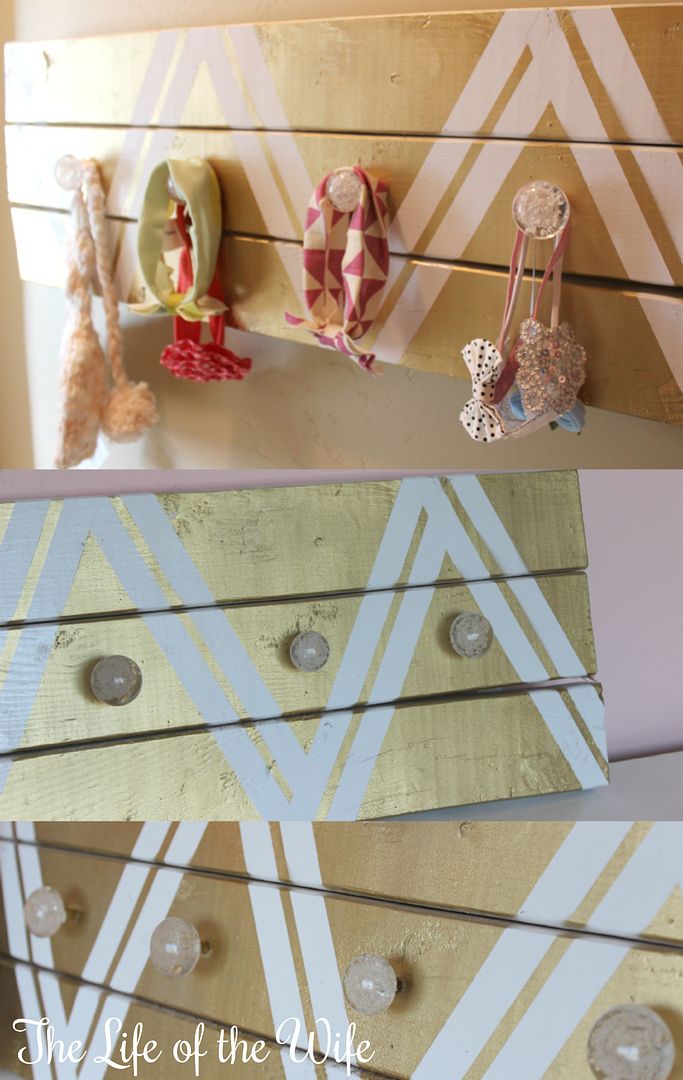
Here it is, hung up in all it's beautiful glory! It almost feels too pretty to hang in her closet! Ok, ok, I might be mildly UHB-SESSED with it!
I am using this one to hang her bows, hats, etc on it. I think I might make another one for our keys, etc. This project was just too much fun!
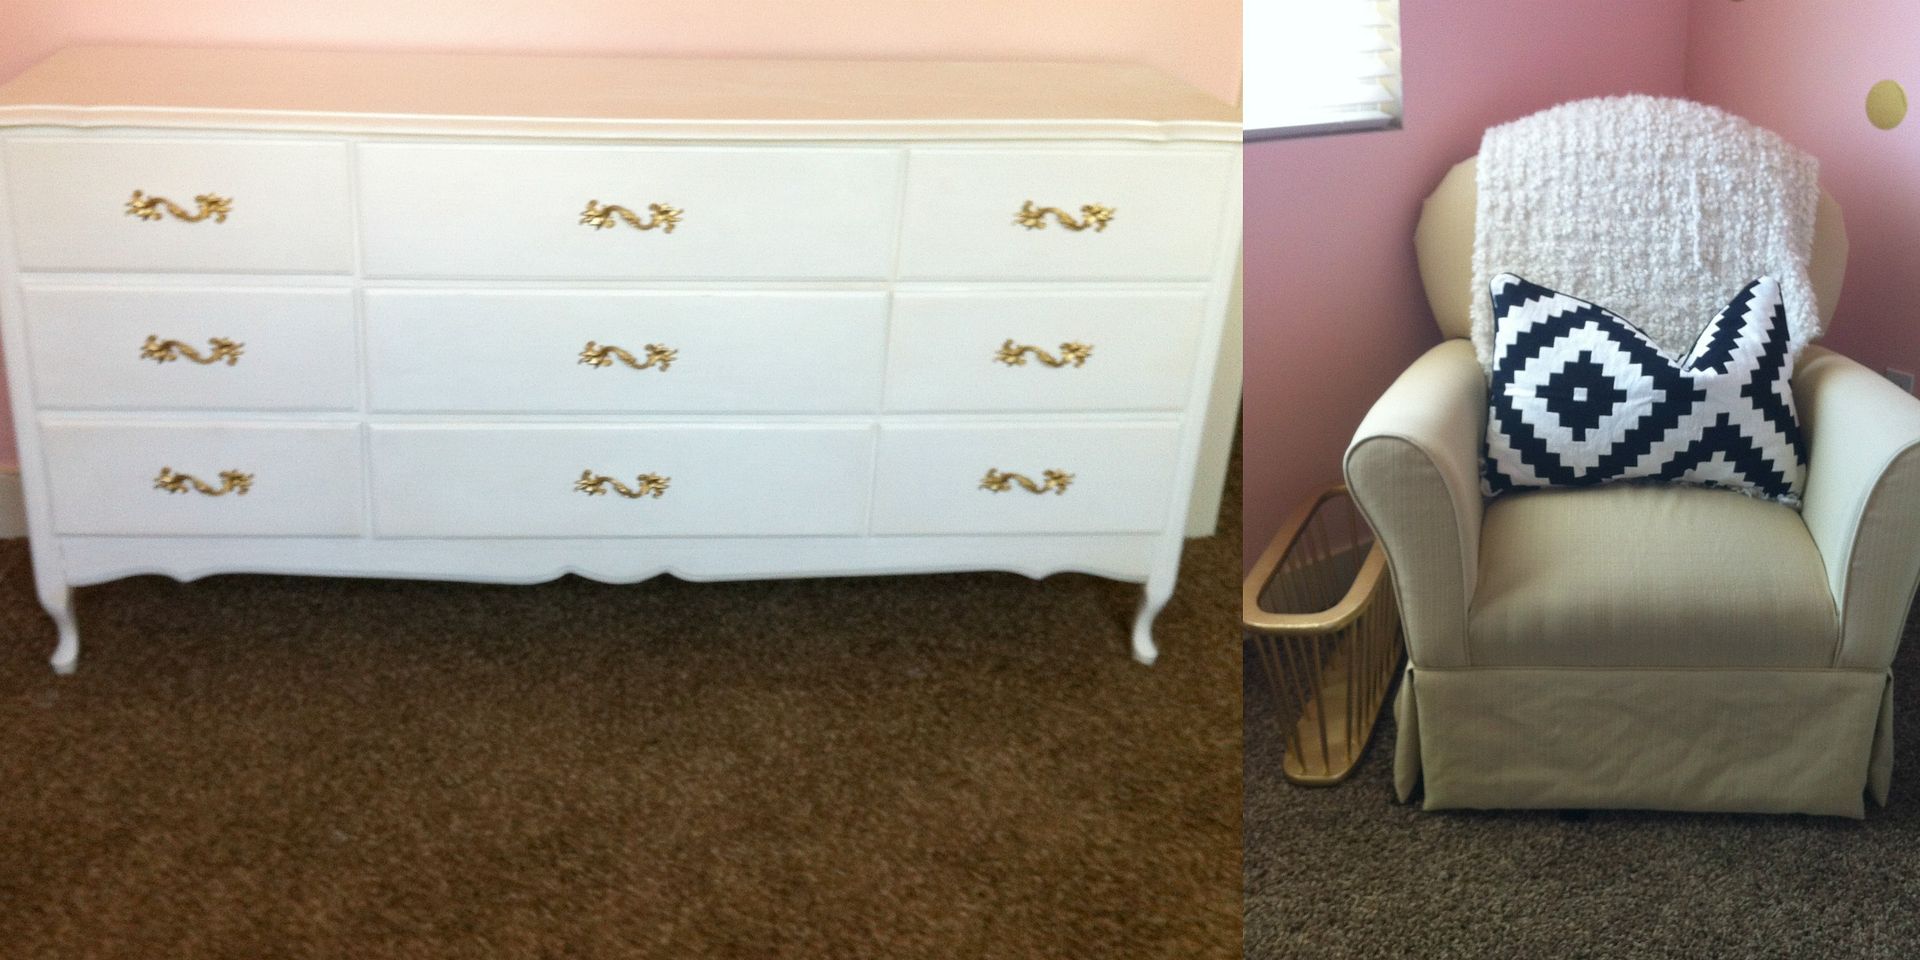
Other little mini projects I checked off my list this weekend: repainted the dresser in her room white, sprayed the knobs gold, sprayed the $2 Goodwill basket gold. Yes, I know...it's a lot of gold...and I LUUUUURVE it!! :)
Hope you guys had a productive weekend, too!!


I think I need one of these - too cute!
ReplyDeleteThat is super cute! I love how it turned out!
ReplyDeleteSuper cute!
ReplyDeletei'm seriously uhb-sessed with that lamp! it is just tooooooo preeeety! i'm lovin baby girl's room, just lovin it!
ReplyDeleteAdorbs : ) She'll be so stylin with all her gold! The rest of the room looks great too!
ReplyDeleteThat would be great for hanging necklaces from!
ReplyDeleteVery cute!! Thanks for he clever idea for my spare pallets!
ReplyDeleteI love the gold. Very fancy and girly at the same time!
ReplyDeleteThat is so cute, now i really want to make one!
ReplyDeleteWhat a great project I like the pattern you painted on it, makes it truly unique :)
ReplyDeleteThis is awesome!! I have been wanting to make a cute little coat hanger for our entryway, this would be perfect! Thanks for the awesome tutorial.
ReplyDeleteJenna, I just LOVE this! So so sweet! I cannot wait to see more of her room, I know it will be so beautiful!
ReplyDeletecute idea Jenna!
ReplyDelete