


 |
When I got asked to be a part of Cricut's Design Space Challenge, I was absolutely thrilled! You KNOW I love to get my craft on!! Every month, a group of super amazing bloggers are given a theme, and asked to design something with their Cricut Explore machines! One design is chosen to win each month (and YOU GUYS get to vote on your faves!). How fun is that?? I'm in Group #16 with some pretty talented girls -- you can check out their projects at the end of my post (the competition is stiff, I tell ya)! :)

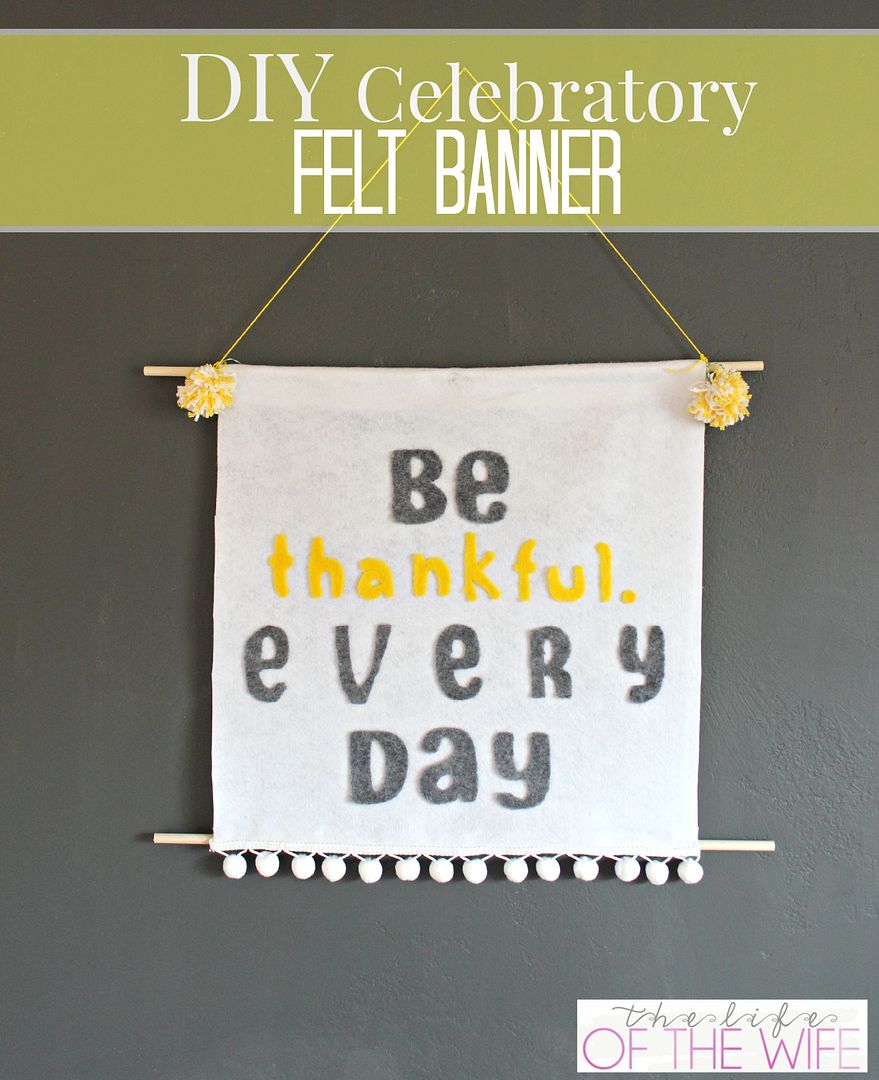
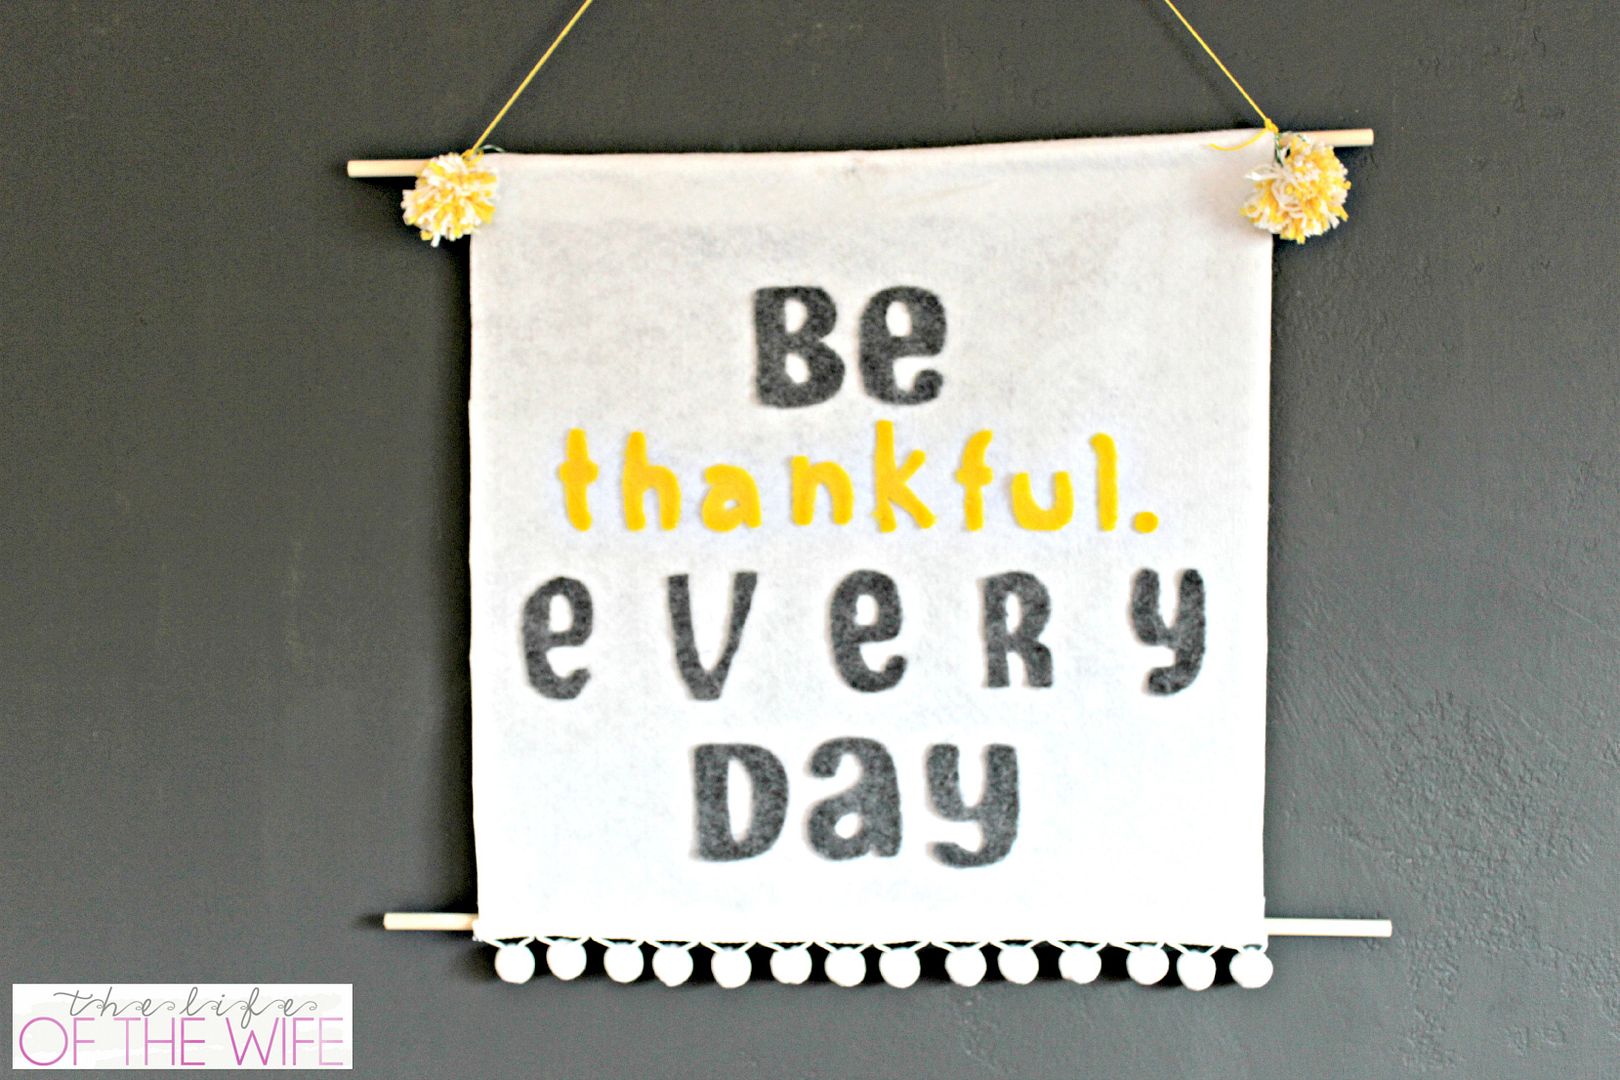
The theme this month was Celebrations. I am hosting a little "Girls Night Craft Party" with some of my friends next week, and I thought this would be a fun project for all of us to do. We are all going to make our own FELT SIGNS. Each one with a different saying!
I wanted to test it out before the party next week, so I quickly got to work designing my first one. This is the one I made, and I kind of (ok..totally) love it! You can really put any phrase you wanted to on it.
Once you have the supplies, you are golden.
I had most of these on hand already. The easier, the better I say.

WHAT YOU NEED
> Felt (any color)
> Wooden Dowels
> Hot Glue Gun
> Fringe or PomPoms (optional)
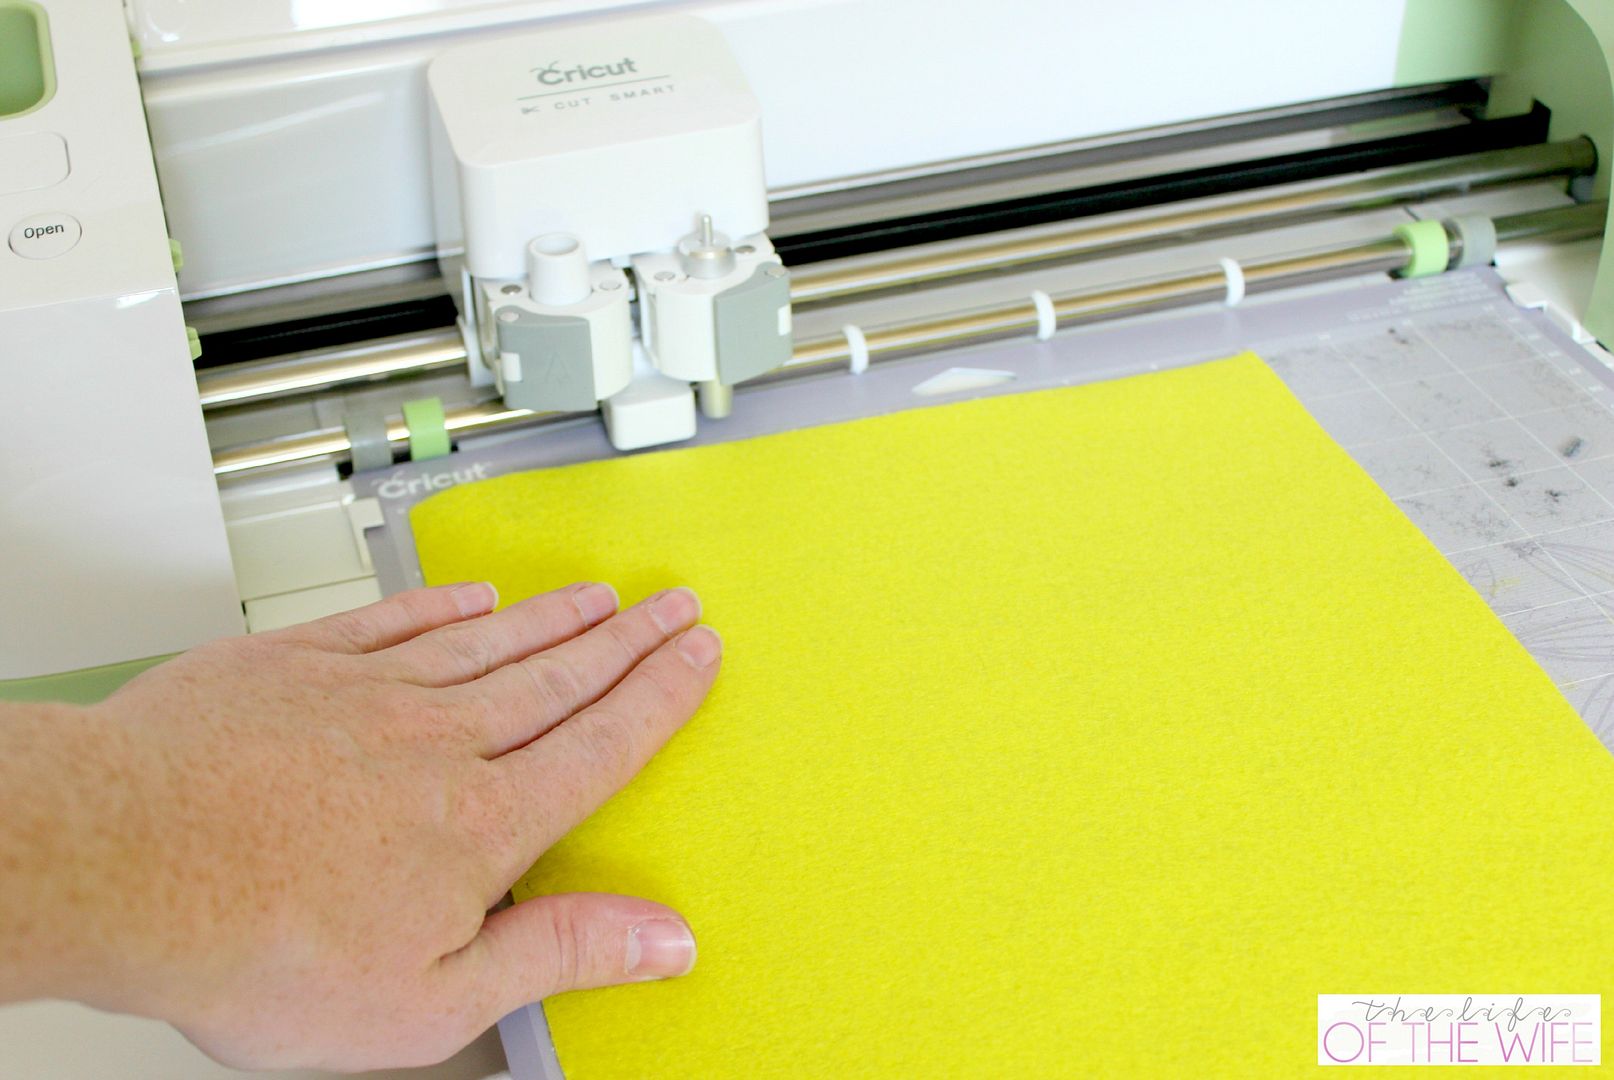
> Cricut Explore
> Super Stick Mat
DIRECTIONS
1. Open Cricut's Design Space, go to "open new project", and "add text." Then, simply type out the phrase of your choosing (ie "Celebrate Life"). Play with the sizing, font, etc.. until you get the design you want.
You can seriously do SO MUCH in that place!
2. Stick your felt onto the SUPER STICK MAT. I cannot stress this enough - get a Super Stick Mat for Felt. Press and hold that felt on there until it will not budge (you will thank me later)! I found that the bigger the letters you are cutting, the easier it is.
Hit the "Go" (Cricut symbol), line up your mat & press the Cut/Cricut symbol on your machine.
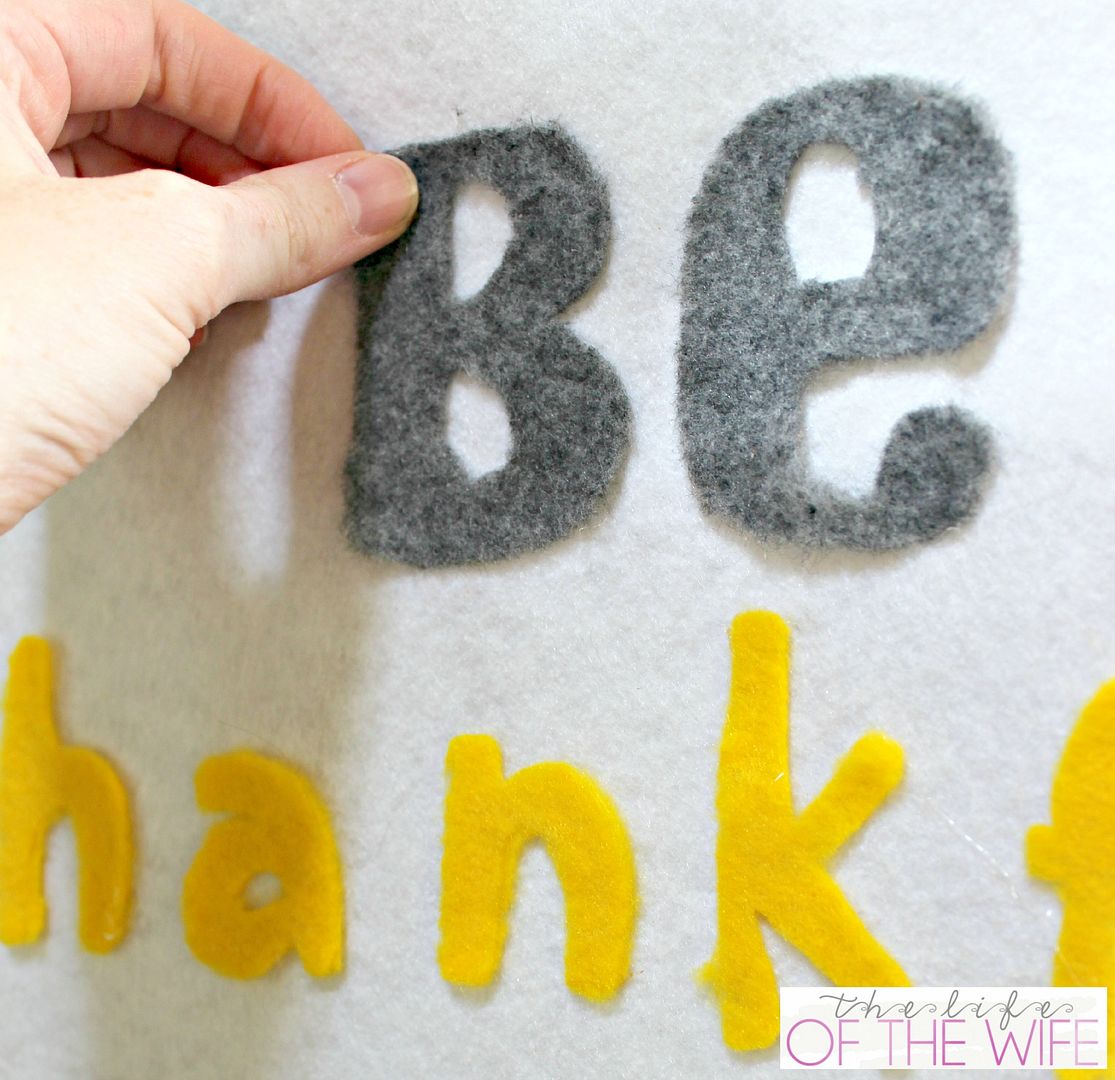
3. Once the letters are cut, peel them off the mat and arrange them how you want on your large piece of felt. You can shape the banner into any size/shape you want. I just chose a simple square frame.
4. Get out that hot glue gun, and glue your little heart out until all of the letters are stuck on there good!
5. Wrap the felt at the top of your project around the dowel, and hot glue it shut. Tie some string at the top, add pompoms or tassels or whaetever you want to make it yours! And voila! DONE!
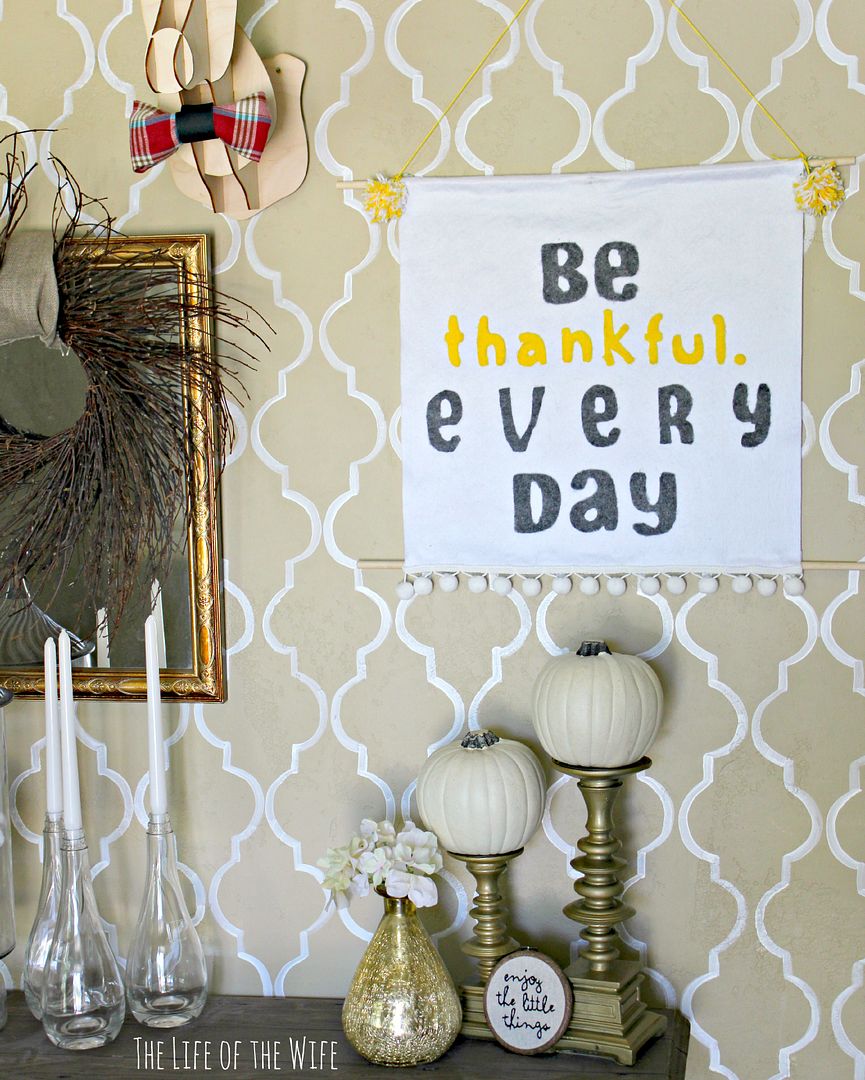 |
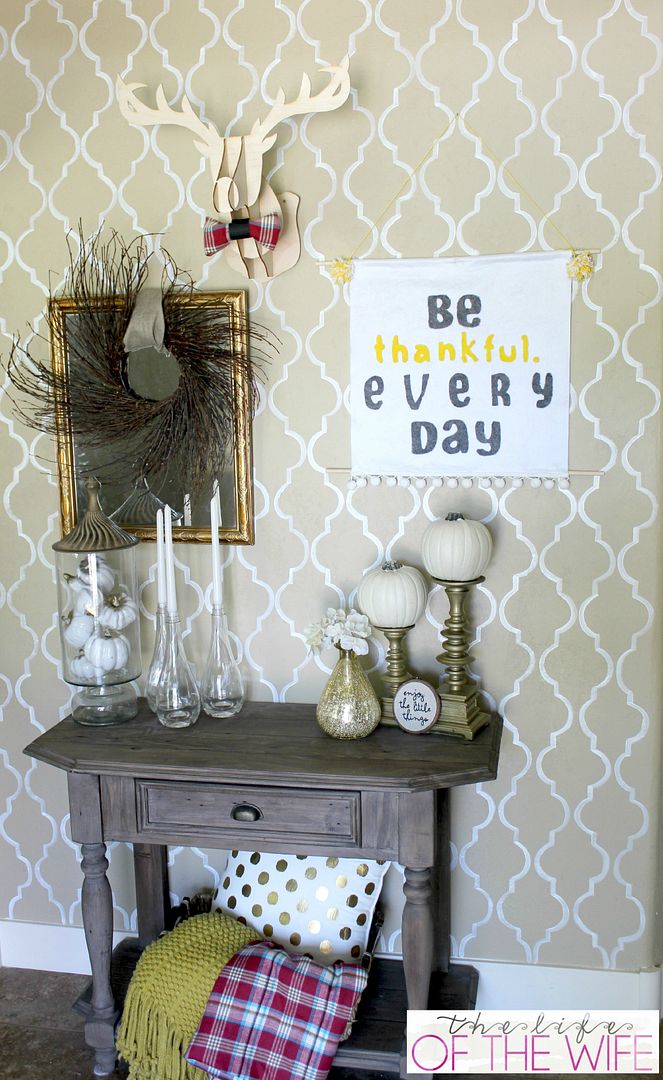
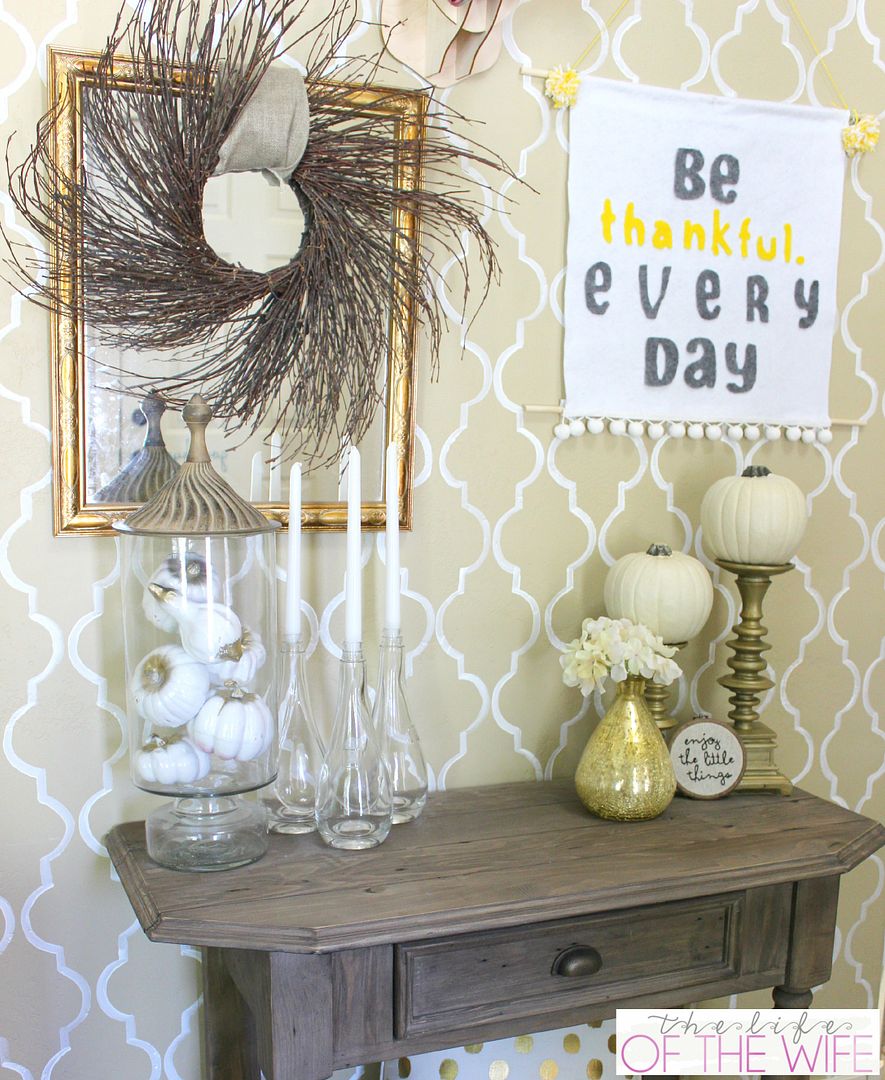
I hung mine up right in my entrway...and I love that little reminder to me every time I walk past it!
So what do you think? This is just the beginning! Get ready for even more beautiful projects coming up in the next few months!!
Now head on over to my other team members sites, and check out their fantastic projects!! I mean...they're kind of genius, right!? Can you believe it was all done with a Cricut!!?

1 -- Kiki and Company
2 -- Stay & Co.
3 -- Kristi Murphy
4 -- Beauty Babbler
5 -- Two Thirty Five Designs
6 -- A Ruffled Life
7 -- Frenchie Wraps
8 -- Girl Inspired
9 -- Sweet C's Designs
2 -- Stay & Co.
3 -- Kristi Murphy
4 -- Beauty Babbler
5 -- Two Thirty Five Designs
6 -- A Ruffled Life
7 -- Frenchie Wraps
8 -- Girl Inspired
9 -- Sweet C's Designs

Pin It
What a gorgeous banner I like how you did the letters too :)
ReplyDeleteSUCH a good idea! Love the little poms!
ReplyDeleteHope you enter my L'Occitane giveaway : http://withlovefromkat.com/fall-beauty-must-haves-with-loccitane-divine-body-oil-cream-collection/
xo Kat
This is adorable!
ReplyDeleteI'm kind of late to the game--just got a Cricut Explore ;). I was wondering what you set the dial on for cutting felt. Is it the fabric setting or a custom one? Love your cute banner!
ReplyDelete